
 Who doesn't just love bacon??? I have had the pleasure of tasting a couple of savory sweets, such as, chocolate covered bacon and chocolate covered potato chips. I recently came across this recipe on Pinterest and knew it was going to be amazing!
I made a few changes to the original recipe so you can use my changes or go with the original, either way it will come out delicious.
My changes are as follows:
I'm not a fan of bitter and semi-sweet chocolate. Anytime a recipe calls for these I use milk chocolate. That's just me! So instead of adding the bittersweet chocolate, I added 1/2 cup of milk chocolate chips. I had mini semi-sweet chips on hand so I added those as well. One other thing not listed is the flavor of bacon. I think any smoked or hickory flavor will come out good in these but I used maple flavored bacon. Wright's bacon is my fave! It has the perfect thickness and flavor.
Lastly, be careful on baking time. I cooked mine about 8 minutes give or take. On your first batch watch them closely so they do not burn. Everyone's oven is different in temp. Hope this helps.
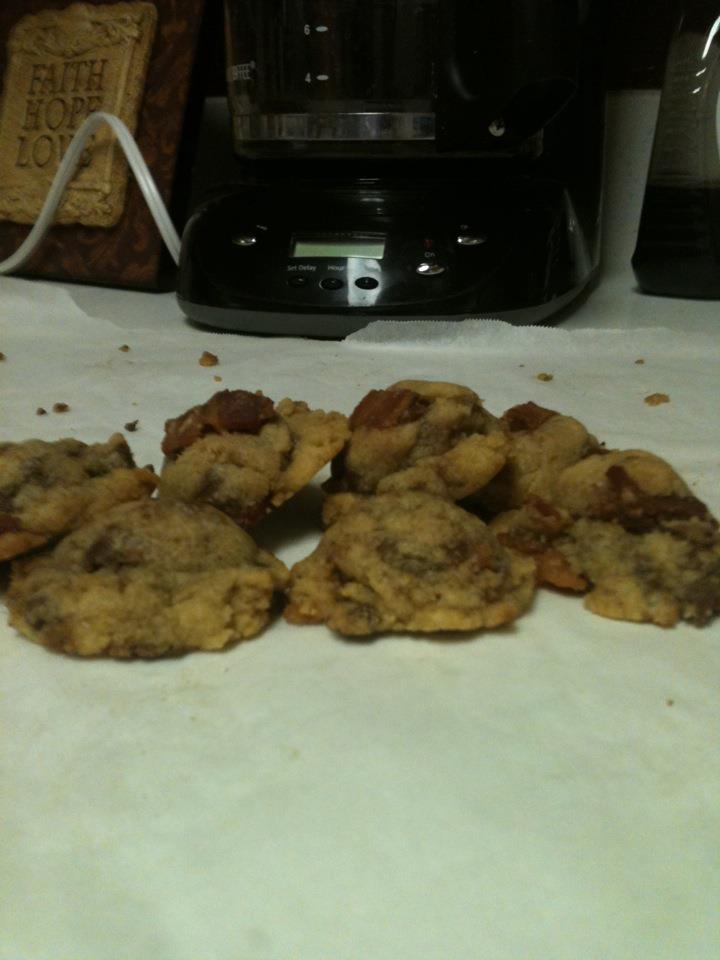
This is the best chocolate chip cookie I've ever had!! Go and make them immediately! :)
Brown Butter Bacon Chocolate Chip Cookies
(adapted from Cooks Illustrated)
1 3/4 cups unbleached all-purpose flour
1/2 teaspoon baking soda
14 tablespoons unsalted butter
1/2 cup granulated sugar
3/4 cup packed dark brown sugar
1 teaspoon table salt
2 teaspoon vanilla
1 large egg
1 large egg yolk
4 oz semisweet chocolate bar, diced into 1/4" pieces
1/2 cup bittersweet chocolate chops (I like Ghirardelli 60% cacao)
3 tablespoons milk chocolate, grated
1 cup bacon that's been fried until crispy and diced into roughly 1/4" pieces
Adjust your oven rack so it's in the middle position. Pre-heat to 375 degrees. Line a large baking sheet with parchment paper.
Whisk flour and baking soda together in a medium bowl and set aside.
Heat 10 tablespoons of butter in a 10 inch skillet over medium-high heat until melted. Continue cooking, swirling pan constantly. Watch this carefully - butter can go from brown to burned very quickly. When butter is dark-golden brown and has a nutty aroma, remove from heat and immediately transfer to a heatproof bowl. Stir the remaining 4 tablespoons of butter into hot butter until melted.
Add granulated sugar, dark brown sugar, salt and vanilla to bowl with butter and whisk until completely mixed. Add egg and egg yolk and whisk until mixture is smooth and there are no lumps of sugar remaining.
Let sugar/egg/butter mixture stand for a few minutes. Then whisk again for 30 seconds. Do this several times - you want to make sure that the sugar has "melted" into the liquid. When ready, mixture will be smooth, thick and shiny.
Using wooden spoon, stir in the flour mixture until just combined. Stir in grated chocolate, chocolate chunks, chocolate chips and bacon pieces. Don't overmix but make sure no flour pockets remain.
Using a teaspoon, place a heaping teaspoon of cookie dough on the baking sheet lined with parchment paper. I get about 14 on a baking sheet. Bake for 10-14 minutes (my oven takes 11 minutes) until cookies are golden-brown and set along the edges but the middle is still soft. Remove from oven and set baking sheet on a wire rack and let cool for at least 10 minutes.


 Presentation is everything!


